DIY Car Waxing: The Ultimate Guide to Protect and Shine
DIY car waxing is a cost-effective way to protect your car’s paint and boost its shine, enhancing its overall appearance and value. With the right tools and techniques, you can achieve professional-level results at home.
Want to keep your car looking its best without breaking the bank? DIY car waxing is the answer. It’s a simple yet effective way to protect your car’s paint from the elements, maintain its resale value, and give it that showroom shine.
In this guide, we’ll walk you through everything you need to know about DIY car waxing: protect your car’s paint and enhance its shine like a pro.
Why DIY Car Waxing: Protect Your Car’s Paint and Enhance Its Shine?
DIY car waxing offers numerous benefits, making it a worthwhile endeavor for any car owner. It’s not just about aesthetics; it’s also about protecting your investment.
Cost Savings
Professional car detailing services can be expensive. By waxing your car yourself, you can save a significant amount of money. The cost of wax, applicator pads, and microfiber cloths is far less than a professional detailing job.
- Save money on detailing services.
- Control the quality of products used.
- Wax your car whenever it’s convenient for you.
Protection from the Elements
Wax acts as a barrier between your car’s paint and the harsh elements of nature. This includes UV rays, rain, snow, salt, and road debris. Regular waxing can prevent oxidation, fading, and corrosion, keeping your car looking newer for longer.
By understanding these benefits, you can appreciate the value of DIY car waxing. It’s an investment in the longevity and appearance of your vehicle.
Choosing the Right Car Wax
Selecting the right car wax is crucial for achieving the desired results. There are several types of wax available, each with its own set of pros and cons, and it all contributes towards **DIY car waxing: protect your car’s paint and enhance its shine**.
Here’s a breakdown of the most common types:
Carnauba Wax
Carnauba wax is derived from the leaves of the carnauba palm tree, native to Brazil. It’s known for its exceptional shine and protective properties.
However, it typically doesn’t last as long as synthetic waxes and requires more frequent application. Carnauba wax is a great choice for enthusiasts looking to enhance their car’s appearance for a show or special event. Consider the quality and type, as it affects the **DIY car waxing**
Here are its key features:
- Provides a deep, rich shine.
- Offers good protection against UV rays.
- Requires more frequent application (every 6-8 weeks).
Synthetic Wax
Synthetic waxes are made from man-made polymers and offer excellent durability and protection. They are designed to withstand harsh weather conditions and can last for several months. Synthetic waxes are a practical choice for daily drivers needing long-lasting protection.
Key features include:
- Long-lasting protection (up to 6 months).
- Excellent resistance to heat, UV rays, and chemicals.
- Easy to apply and remove.
Hybrid Wax
Hybrid waxes combine the benefits of both carnauba and synthetic waxes. They offer a good balance of shine, protection, and durability. Hybrid waxes often contain a blend of natural and synthetic ingredients to provide the best of both worlds.
Here’s what you need to know:
- Provides a good balance of shine and protection.
- Offers moderate durability (3-4 months).
- Suitable for various weather conditions.
Essential Tools and Materials for DIY Car Waxing: Protect Your Car’s Paint and Enhance Its Shine
Having the right tools and materials is essential for a successful **DIY car waxing** experience. Using high-quality products and tools will not only make the job easier but also ensure better results.
Here’s a list of everything you’ll need:
- Car wash soap
- Two buckets (one for washing, one for rinsing)
- Microfiber wash mitt
- Car wax (carnauba, synthetic, or hybrid)
- Wax applicator pads
- Microfiber cloths (for buffing)
- Detailing clay (optional, for removing contaminants)
- Clay lubricant (optional, if using detailing clay)
With the proper tools and preparation, you are all set for **DIY car waxing**, a great way to protect your car’s paint and enhance its shine easily.
Step-by-Step Guide to DIY Car Waxing
Now that you have the right wax and tools, it’s time to get to work. Follow these step-by-step instructions for a professional-looking **DIY car waxing** job.
Step 1: Wash Your Car
Start by washing your car thoroughly to remove any dirt, grime, or debris. Use a pH-neutral car wash soap and the two-bucket method to prevent scratching the paint. Rinse the car completely and dry it with a clean microfiber towel.
Step 2: Clay Bar Treatment (Optional)
If your car’s paint feels rough or contains embedded contaminants, use a detailing clay bar to smooth the surface. Spray the clay lubricant onto a small section of the car, then gently rub the clay bar back and forth until the surface feels smooth. Wipe away any residue with a microfiber cloth.
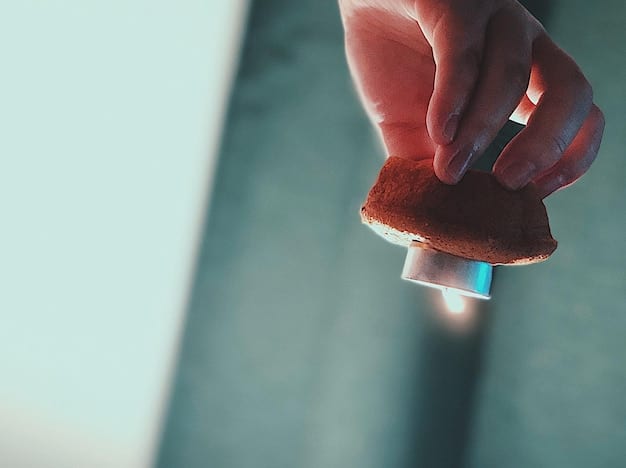
Step 3: Apply the Wax
Apply a small amount of wax to a clean applicator pad. Work in small sections, using circular or back-and-forth motions to spread the wax evenly. Avoid applying too much wax at once, as this can make it difficult to remove.
Step 4: Allow the Wax to Dry
Let the wax dry according to the manufacturer’s instructions. This usually takes 10-20 minutes. The wax should appear hazy or cloudy when it’s ready to be buffed off.
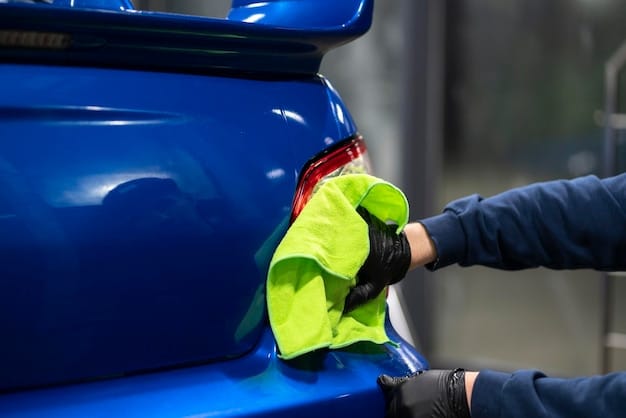
Step 5: Buff the Wax
Use a clean, soft microfiber cloth to buff the wax off your car. Use light pressure and gentle motions to reveal the shine. Fold the microfiber cloth as needed to ensure you’re always using a clean surface.
Congratulations, your **DIY car waxing: protect your car’s paint and enhance its shine** is complete.
Tips for Achieving Professional Results in DIY Car Waxing
Achieving professional-quality results with DIY car waxing requires attention to detail and the right techniques. Here are some tips to help you get the best possible finish.
- Work in the Shade: Avoid waxing your car in direct sunlight. The heat can cause the wax to dry too quickly, making it difficult to buff off.
- Use Clean Applicators and Cloths: Always use clean applicator pads and microfiber cloths to prevent scratching the paint.
- Apply Thin, Even Coats: Applying too much wax can lead to streaking and uneven coverage. Aim for thin, even coats for the best results.
- Fold Your Microfiber Cloths: Fold your microfiber cloths into quarters to create multiple clean surfaces. This will help you buff the wax more effectively.
- Use a Detailing Spray: After waxing, use a detailing spray to remove any remaining residue and enhance the shine.
| Key Point | Brief Description |
|---|---|
| 💰 Cost Savings | DIY waxing saves money compared to professional detailing. |
| 🛡️ Protection | Wax protects car paint against elements and UV rays. |
| ✨ Enhanced Shine | Waxing enhances the car’s appearance. |
| 🧼 Proper Washing | Washing car before waxing prevents scratches. |
Frequently Asked Questions (FAQ)
The frequency depends on the type of wax you use and the weather conditions. Generally, carnauba wax should be applied every 6-8 weeks, while synthetic wax can last up to 6 months providing great benefits to **DIY car waxing**.
It’s best to avoid waxing your car in direct sunlight. The heat can cause the wax to dry too quickly, making it difficult to buff off and potentially damaging the paint.
Start by washing your car thoroughly with a pH-neutral car wash soap. If necessary, use a detailing clay bar to remove any embedded contaminants. Ensure the surface is clean and dry before applying wax.
Yes, most car waxes are suitable for all types of car paint. However, it’s always a good idea to check the product label to ensure it’s compatible with your car’s finish by reading the labels.
DIY car waxing is more cost-effective and allows you to control the quality of products used. It also gives you the flexibility to wax your car whenever it’s convenient for you. Choosing **DIY car waxing: protect your car’s paint and enhance its shine** are all reasons you should consider.
Conclusion
DIY car waxing: protect your car’s paint and enhance its shine is a rewarding task that can significantly improve your car’s appearance and protect it from the elements. By following the steps and tips outlined in this guide, you can achieve professional results and maintain your car’s value.


