DIY Car Paint Touch-Up: The Ultimate Guide to Flawless Finishes
DIY Car Paint Touch-Up: Fix Small Chips and Scratches for a Flawless Finish. This guide provides step-by-step instructions and essential tips to restore your car’s paint job, saving you time and money. Learn how to prepare the surface, apply touch-up paint, and blend for professional-looking results.
Is your car’s paint marred by unsightly chips and scratches? Don’t despair! You can achieve a flawless finish with a DIY car paint touch-up: fix small chips and scratches for a flawless finish, and this guide will show you how.
Learn the secrets to seamlessly blending touch-up paint for a professional-looking repair that will have your car looking its best in no time. Let’s dive in!
Understanding DIY Car Paint Touch-Up
A **DIY car paint touch-up: fix small chips and scratches for a flawless finish** involves repairing minor imperfections in your car’s paint without the need for professional assistance. There are several benefits to taking this approach.
Why Choose DIY Touch-Up?
Opting for a DIY approach allows you to save money, as professional repairs can be quite costly. It also offers the convenience of addressing the issue on your own schedule and can prevent rust and further damage.
- Cost-effectiveness compared to professional services
- Flexibility to perform the repair at your convenience
- Prevention of rust and further paint degradation
Selecting the right materials and tools is crucial for a successful DIY project. These include the correct touch-up paint, a detail brush, rubbing compound, and clear coat.
Essential Materials and Tools
Having the right materials can make the entire project much more manageable. Preparing everything ahead of time will help to avoid costly mistakes or a paint job that appears shoddy.
Gathering Your Supplies
One of the most important aspects of a DIY car paint touch-up: fix small chips and scratches for a flawless finish, is having the right supplies available. Here are several things you should have.
- Touch-up paint matching your car’s color code
- Fine-tipped detail brushes for precise application
- Rubbing compound to blend the touch-up paint
- Clear coat to protect the repaired area
Proper tools, such as fine-grit sandpaper and microfiber cloths, will further enhance the quality of your touch-up work, helping to create a smooth and professional finish.
Preparing the Surface is Key
Proper surface preparation is paramount for a successful **DIY car paint touch-up: fix small chips and scratches for a flawless finish**. Cleaning the area thoroughly removes dirt, grime, and other contaminants that could interfere with the adhesion of the touch-up paint.
Cleaning and Sanding
Start by washing the area with soap and water, then use a degreaser to remove any wax or grease. Gently sand the edges of the chip or scratch with fine-grit sandpaper to create a smooth transition.
- Washing the area with soap and water to remove dirt
- Using a degreaser to eliminate wax or grease
- Sanding the edges of the imperfection for a smooth finish
Always ensure that the surface is completely dry before proceeding with the next steps to prevent moisture from being trapped under the paint, which can lead to bubbling or peeling.
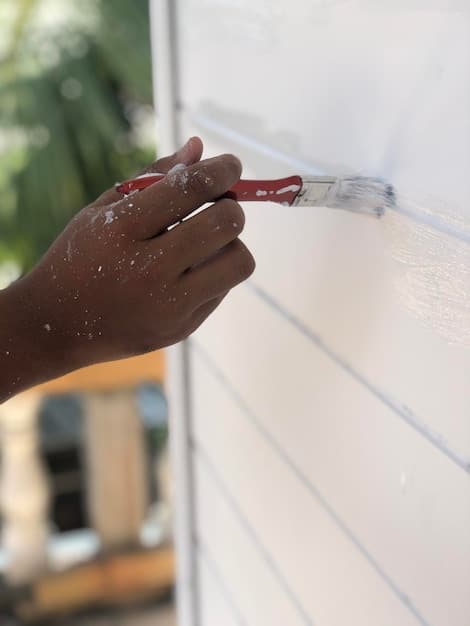
Applying Touch-Up Paint
The application of touch-up paint requires precision and patience. Apply the paint in thin layers. Building up the color gradually ensures a more uniform and natural-looking finish.
Techniques for Application
Using a fine-tipped brush, carefully dab the paint into the chip or scratch. Avoid applying too much paint at once, as this can create a raised area that is difficult to blend.
- Carefully dabbing the paint with a fine-tipped brush
- Avoiding excessive paint application to prevent raised areas
- Allowing each layer to dry completely before applying the next
Allow each layer to dry completely before applying the next, and use a hair dryer on a low setting to expedite the drying process if needed.
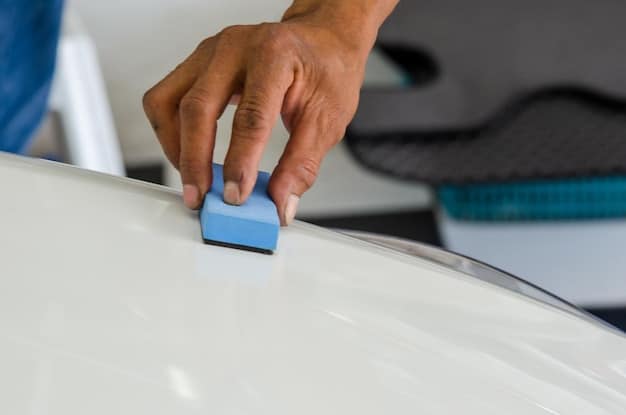
Blending and Finishing
Blending is a crucial step in achieving a seamless repair. After the touch-up paint has fully dried, use a rubbing compound to blend the edges of the repaired area with the surrounding paint.
The Final Touches
Apply the compound to a microfiber cloth and gently rub the area in a circular motion. This will help to smooth out any imperfections and create a uniform finish. Consider these final steps in your **DIY car paint touch-up: fix small chips and scratches for a flawless finish**.
- Applying rubbing compound with a microfiber cloth
- Gently rubbing in a circular motion to smooth imperfections
- Applying clear coat to protect the repaired area
Finally, apply a clear coat to protect the repaired area and enhance its shine, ensuring a long-lasting and professional-looking repair.
Advanced Techniques for DIY Car Paint Touch-Up
For enthusiasts seeking even greater perfection, several advanced techniques can further enhance the results. Wet sanding is one such technique, involving the use of very fine-grit sandpaper and water to achieve an ultra-smooth finish.
Mastering the Art
This process requires a delicate touch and careful attention to detail, but the results can be truly remarkable when you **DIY car paint touch-up: fix small chips and scratches for a flawless finish**. Another advanced technique involves the use of a paint leveling solution.
- Wet sanding for an ultra-smooth finish
- Use of paint leveling solutions for blending
- Polishing to restore gloss
Polishing the repaired area with a high-quality polish can further restore the gloss and clarity of the paint, leaving your car looking as good as new.
| Key Point | Brief Description |
|---|---|
| 🛠️ Surface Prep | Clean & sand the area for better paint adhesion. |
| 🎨 Paint Application | Apply thin layers, allowing each to dry fully. |
| ✨ Blending Finish | Use rubbing compound to blend edges. |
| 🛡️ Clear Coat | Protect the repaired area with a clear coat. |
Frequently Asked Questions
You’ll need touch-up paint matching your car’s color code, fine-tipped detail brushes, rubbing compound, clear coat, fine-grit sandpaper, and microfiber cloths.
Thoroughly clean the area with soap and water, use a degreaser to remove wax or grease, and gently sand the edges of the imperfection with fine-grit sandpaper.
Apply the paint in thin layers using a fine-tipped brush. Allow each layer to dry completely before applying the next. Avoid applying too much paint at once.
Rubbing compound is used to blend the edges of the repaired area with the surrounding paint, creating a seamless and uniform finish. Apply it gently in a circular motion.
Apply a clear coat over the repaired area. This protects the paint and enhances its shine, ensuring a long-lasting and professional-looking repair, and helps keep your car looking its best.
Conclusion
Achieving a flawless finish with a DIY car paint touch-up: fix small chips and scratches for a flawless finish is within reach. By carefully following these steps, you can save money, maintain your car’s appearance, and enjoy the satisfaction of a job well done.

")


")