DIY Car Brake Bleeding: Your Step-by-Step Guide for Improved Safety
DIY Car Brake Bleeding: Improve Braking Performance and Safety is a crucial maintenance task. This guide provides a step-by-step approach to bleeding your car’s brakes, ensuring optimal performance and safety.
Maintaining your car’s braking system is paramount for safe driving. One of the most important aspects of brake maintenance is bleeding the brakes. DIY Car Brake Bleeding: Improve Braking Performance and Safety can seem daunting. However, with the right knowledge and tools, it is a manageable task that can significantly improve your vehicle’s braking performance.
This guide will walk you through the process of how to properly bleed your car’s brakes at home, saving you money and ensuring your vehicle is safe to drive. Let’s dive into the world of DIY Car Brake Bleeding: Improve Braking Performance and Safety!
Why DIY Car Brake Bleeding: Improve Braking Performance and Safety?
Brake bleeding is the process of removing air bubbles from your car’s brake lines. These air bubbles can compress under pressure, reducing the effectiveness of your brakes. If you’ve ever experienced a spongy or soft brake pedal, it’s likely due to air in the brake lines. DIY Car Brake Bleeding: Improve Braking Performance and Safety offers several benefits, including cost savings and a deeper understanding of your vehicle’s braking system.
Benefits of Bleeding Your Brakes Yourself
There are compelling reasons to tackle this task yourself:
- Cost Savings: You can save money on labor costs by performing this maintenance yourself.
- Improved Braking Performance: Removing air from the brake lines results in a firmer brake pedal and more responsive braking.
- Early Problem Detection: While bleeding your brakes, you may notice other issues, such as leaks or worn brake pads.
Furthermore, understanding how your brake system works promotes safer driving habits, which prevent future issues from arising.
Gathering the Right Tools for DIY Car Brake Bleeding
Before you begin, it’s essential to gather the necessary tools and supplies. Having everything on hand will make the process smoother and more efficient. This section outlines the basic tools you’ll need for effective DIY Car Brake Bleeding: Improve Braking Performance and Safety.
Essential Tools and Supplies
Here’s a list of what you should have ready:
- Brake Fluid: Use the correct type of brake fluid specified in your vehicle’s owner’s manual.
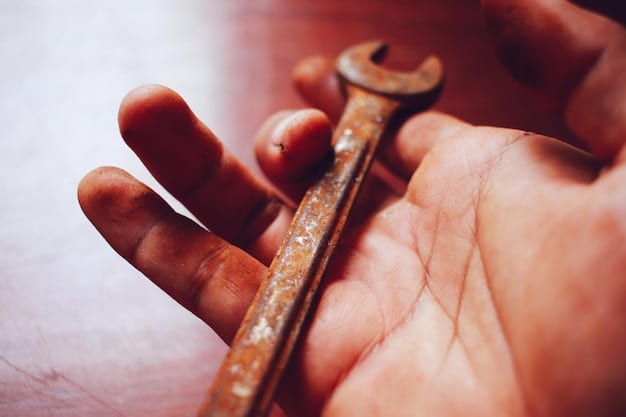
- Bleeder Wrench: A wrench that fits the bleeder screw on your brake calipers.
- Clear Tubing: A clear tube to attach to the bleeder screw to observe the fluid.
- Catch Container: A container to collect the old brake fluid.
- Jack and Jack Stands: To safely lift and support your vehicle.
- Wheel Chocks: To secure the wheels that remain on the ground.
Having these tools is very important for guaranteeing the safety and effectiveness of the bleeding procedure.
Step-by-Step Guide: DIY Car Brake Bleeding Process
Now, let’s go through the step-by-step process of brake bleeding. Follow these instructions carefully to ensure you bleed your brakes correctly. Whether you are trying to improve your safety or are looking to enhance your knowledge, this DIY Car Brake Bleeding: Improve Braking Performance and Safety guide will assist you.
Step 1: Prepare Your Vehicle
Start by parking your car on a level surface, engaging the parking brake, and using wheel chocks to secure the wheels. Loosen the lug nuts on the wheels you’ll be removing.
Step 2: Lift and Secure Your Vehicle
Use a jack to lift your vehicle and place jack stands under the frame for support. Make sure the jack stands are securely positioned before proceeding. Remove the wheels.
Step 3: Locate the Bleeder Screws
Locate the bleeder screws on each brake caliper. They are typically small screws with a rubber cap. Remove the cap and clean the area around the screw.
Step 4: Attach the Tubing
Attach one end of the clear tubing to the bleeder screw and place the other end into the catch container. Make sure the tubing is submerged in the brake fluid to prevent air from being sucked back into the system.
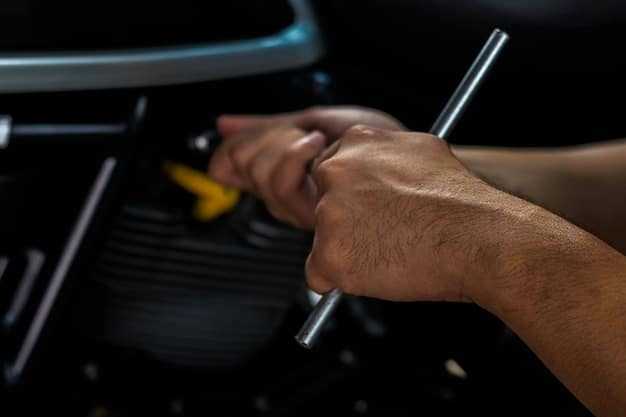
Step 5: Bleed the Brakes
Have a helper slowly depress the brake pedal. While the pedal is depressed, open the bleeder screw with the wrench. Watch the fluid flow through the tubing. Close the bleeder screw before your helper releases the brake pedal. Repeat this process until no air bubbles are visible in the fluid.
Step 6: Repeat for Each Wheel
Repeat the bleeding process for each wheel, starting with the wheel furthest from the master cylinder. The typical bleeding order is: rear right, rear left, front right, and front left. However, always consult your vehicle’s service manual for the correct order.
Step 7: Top Off Brake Fluid
After bleeding each wheel, check the brake fluid level in the master cylinder reservoir and top it off as needed. Be sure to use the correct type of brake fluid.
Step 8: Reassemble and Test
Reinstall the wheels, tighten the lug nuts, and lower the vehicle. Before driving, pump the brake pedal several times to ensure it feels firm. Take a short test drive to verify that the brakes are functioning properly.
By following these steps, you can effectively perform DIY Car Brake Bleeding: Improve Braking Performance and Safety.
Troubleshooting Common Brake Bleeding Issues
Even with careful preparation, you may encounter some issues during the brake bleeding process. Understanding these potential problems and how to address them can save you time and frustration. Proper DIY Car Brake Bleeding: Improve Braking Performance and Safety involves knowing how to handle common issues.
Common Problems and Solutions
- Bleeder Screw Stuck: If the bleeder screw is stuck, try using a penetrating oil to loosen it. Let the oil soak for a few minutes before attempting to open the screw again.
- Air Continues to Come Out: If air continues to come out of the bleeder screw, check the connections to ensure they are tight. Also, inspect the brake lines for leaks.
- Spongy Brake Pedal Persists: If the brake pedal still feels spongy after bleeding, there may be a more significant issue with your braking system, such as a faulty master cylinder.
Addressing these issues promptly ensures better brake service and enhances the vehicle’s safety features.
Choosing the Right Brake Fluid
Using the correct type of brake fluid is crucial for the proper functioning of your car’s braking system. Different vehicles require different types of brake fluid, and using the wrong type can damage the system and compromise safety. If you are still unsure about DIY Car Brake Bleeding: Improve Braking Performance and Safety, always consult the manual for guidance.
DOT 3, DOT 4, and DOT 5: What’s the Difference?
Brake fluids are classified by DOT (Department of Transportation) ratings, such as DOT 3, DOT 4, and DOT 5. DOT 3 and DOT 4 are glycol-based and can be mixed, but DOT 5 is silicone-based and should never be mixed with glycol-based fluids. Always use the brake fluid type specified in your vehicle’s owner’s manual.
- DOT 3: Commonly used in older vehicles.
- DOT 4: Offers a higher boiling point and is suitable for vehicles with ABS.
- DOT 5: Silicone-based and used in specific vehicles; not compatible with ABS.
Choosing the correct fluid guarantees optimal performance and extends the safety and reliability of the braking system.
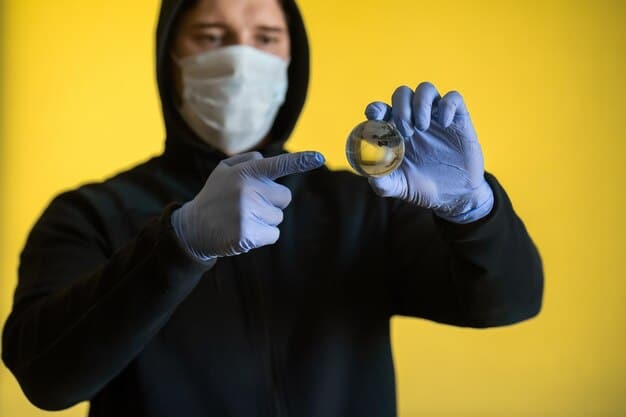
Safety Precautions for DIY Car Brake Bleeding
Safety should always be your top priority when working on your car. Brake fluid is corrosive and can damage your skin and eyes. Always wear safety glasses and gloves when handling brake fluid. Performing this DIY Car Brake Bleeding: Improve Braking Performance and Safety task can provide additional knowledge and confidence when maintaining your car.
Key Safety Tips
Here are some important safety precautions to keep in mind:
- Wear Protective Gear: Always wear safety glasses and gloves to protect your eyes and skin from brake fluid.
- Work in a Well-Ventilated Area: Brake fluid fumes can be harmful, so work in an area with good ventilation.
- Dispose of Brake Fluid Properly: Brake fluid is hazardous waste and should be disposed of properly at a recycling center or auto parts store.
Following these safety tips is essential for creating a secure atmosphere, minimizing risks, and improving overall safety factors.
With the right tools, knowledge, and safety precautions, performing DIY Car Brake Bleeding: Improve Braking Performance and Safety can be a straightforward and rewarding task. By maintaining your braking system, you’re ensuring your safety and the safety of others on the road.
| Key Point | Brief Description |
|---|---|
| 🛠️ Tools Needed | Brake fluid, wrench, clear tubing, catch container, jack, jack stands. |
| 🚗 Prep Vehicle | Park on level surface, secure wheels, loosen lug nuts. |
| 💧 Bleeding Process | Attach tubing, open bleeder screw, watch for bubbles. |
| 🛡️ Safety | Wear gear; dispose of brake fluid properly. |
Frequently Asked Questions
Brake bleeding removes air bubbles from brake lines, improving braking responsiveness and safety. Air bubbles can compress, reducing the effectiveness of your brakes.
You’ll need brake fluid, a bleeder wrench, clear tubing, a catch container, a jack, jack stands, wheel chocks and safety glasses and gloves.
It’s generally recommended to bleed your brakes every two to three years, or as specified in your vehicle’s owner’s manual.
No, always use the type of brake fluid specified in your vehicle’s owner’s manual. Using the wrong type of fluid can damage your braking system.
Potential risks include improper bleeding, damage to the bleeder screw, and exposure to corrosive brake fluid. Taking precautions is always ideal for increasing saftey standards.
Conclusion
In conclusion, DIY Car Brake Bleeding: Improve Braking Performance and Safety provides practical steps for enthusiasts and car owners wishing to maintain safety and efficiency of car breaks. Providing the right tools, following guidelines, and taking needed safety steps, everyone can do this well.
Brake bleeding is an important part of car maintenance that guarantees a safer driving experience. Remember that if you are not comfortable doing it yourself, it’s always best to seek the help of a qualified mechanic.

")


