How to Wax Your Car: The Ultimate Guide to Shine and Protection
Applying and removing car wax properly is crucial for achieving maximum shine and long-lasting protection against environmental elements, ensuring your vehicle maintains a showroom-worthy finish.
Want to make your car shine like new? Learning how to properly apply and remove car wax for maximum shine and protection is key. This guide will walk you through each step, ensuring a flawless finish and lasting defense against the elements.
Understanding Car Wax: Why and When?
Car wax isn’t just about making your car look good; it’s a crucial layer of protection against the harsh realities of the road and weather. From UV rays to road grime, your car’s paint faces a constant barrage of threats. Understanding the purpose of car wax and knowing when to apply it can significantly extend the life and appearance of your vehicle’s finish.
The Purpose of Car Wax
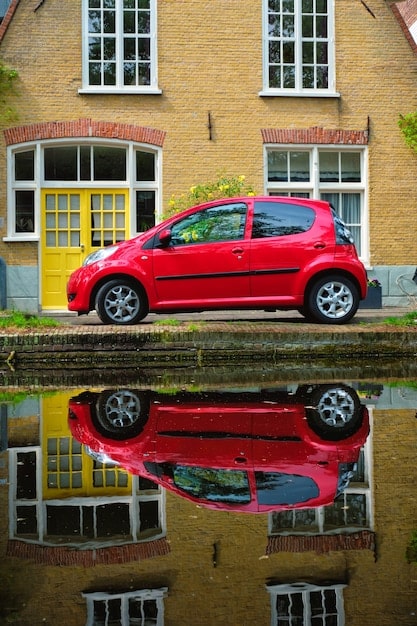
Car wax serves as a sacrificial layer, protecting the underlying paint from scratches, swirl marks, and fading caused by prolonged sun exposure. It also creates a hydrophobic surface, causing water to bead up and roll off, which helps prevent water spots and makes washing your car easier.
When to Wax Your Car
The frequency of waxing depends on several factors, including the type of wax used, the climate you live in, and how often you drive. As a general rule, waxing your car every three to four months is a good practice. However, if you notice that water no longer beads up on the surface, it’s a clear sign that it’s time to reapply wax.
- Check the water beading: Good beading indicates the wax is still effective.
- Consider the climate: Harsh sun or salty air requires more frequent waxing.
- Evaluate your driving habits: Frequent driving exposes your car to more contaminants.
By understanding the purpose of car wax and paying attention to the signs that indicate it’s time for a fresh coat, you can keep your car looking its best and protect its finish for years to come. Remember, regular waxing is an investment in your vehicle’s long-term appearance and value.
Choosing the Right Car Wax for Your Needs
Selecting the right car wax can be overwhelming given the vast array of options available. From traditional paste waxes to modern spray-on formulas, each type offers its own set of benefits and drawbacks. Understanding the differences between these options is crucial for making an informed decision that suits your specific needs and preferences.
Types of Car Wax
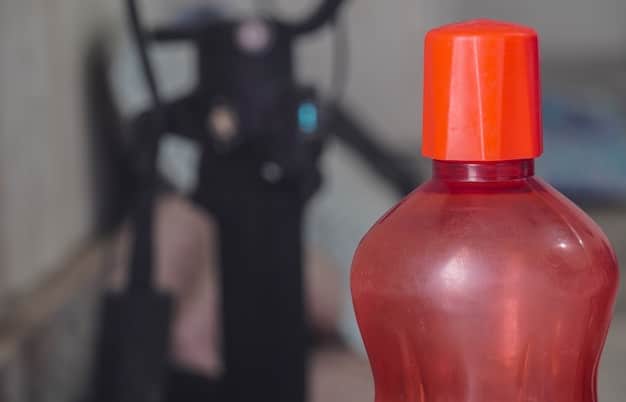
Car waxes generally fall into two categories: natural waxes and synthetic waxes. Natural waxes, like carnauba wax, provide a deep, warm shine but tend to be less durable. Synthetic waxes, on the other hand, offer superior longevity and protection against the elements. Hybrid waxes combine both natural and synthetic ingredients to offer a balance of shine and durability.
Factors to Consider
When choosing a car wax, consider factors such as the ease of application, the level of protection it provides, and the type of finish you desire. Paste waxes typically require more effort to apply but offer a deeper shine. Liquid waxes are easier to apply but may not provide as much protection. Spray waxes are the quickest to apply but offer the shortest lifespan.
- Natural vs. Synthetic: Balance shine with durability.
- Ease of Application: Choose a wax that fits your skill level and time commitment.
- Level of Protection: Consider your climate and driving conditions.
Ultimately, the best car wax for you will depend on your individual needs and preferences. By understanding the different types of waxes available and considering the factors mentioned above, you can confidently choose a product that will help you achieve a stunning shine and lasting protection for your car’s finish.
Preparing Your Car for Waxing: A Clean Start
Before you even think about applying wax, it’s crucial to prepare your car’s surface properly. Waxing a dirty car is like putting a band-aid on a wound without cleaning it first – it simply won’t work effectively and can even cause further damage. A clean and smooth surface is essential for the wax to bond properly and provide maximum shine and protection.
The Washing Process
Start by thoroughly washing your car with a pH-balanced car wash soap. Use a soft microfiber wash mitt and two-bucket method to prevent swirl marks. This involves using one bucket for soapy water and another for rinsing the mitt, ensuring that dirt and grit are removed before touching the paint again.
Clay Bar Treatment
After washing, use a clay bar to remove any embedded contaminants that washing alone can’t eliminate. Clay bars work by gently lifting these contaminants from the paint’s surface, leaving it smooth and ready for polishing and waxing. Lubricate the surface with a clay bar lubricant to prevent scratching.
- Two-Bucket Method: Prevents swirl marks during washing.
- pH-Balanced Soap: Protects your car’s paint.
- Clay Bar Lubricant: Essential for safe clay bar use.
Preparing your car for waxing is an essential step that should not be overlooked. By thoroughly washing and claying your car, you’ll create a clean and smooth surface that allows the wax to bond properly, providing maximum shine and protection. This meticulous preparation will ultimately result in a more durable and visually stunning finish.
Applying Car Wax: Techniques for a Flawless Finish
Now that your car is clean and prepped, it’s time to apply the wax. The application process is just as important as choosing the right wax – a proper technique will ensure even coverage, maximum shine, and long-lasting protection. Whether you’re using a paste, liquid, or spray wax, following these steps will help you achieve a flawless finish.
Step-by-Step Application
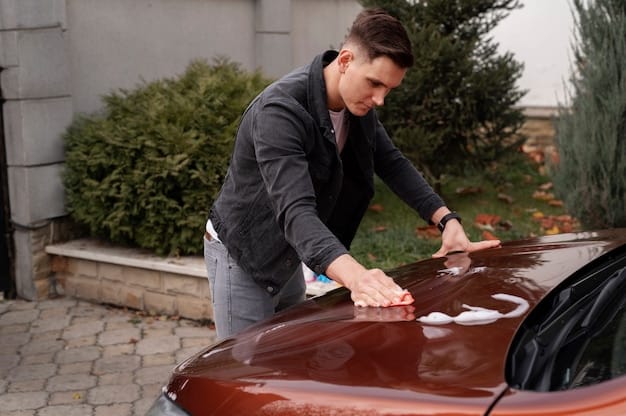
Apply a small amount of wax to a clean applicator pad. Work in small sections, using circular or overlapping motions to spread the wax evenly over the surface. Avoid applying too much wax at once, as this can make it difficult to remove. Allow the wax to dry according to the manufacturer’s instructions – typically, this takes about 10-15 minutes.
Tips for Even Coverage
To ensure even coverage, work in a consistent pattern and overlap each section slightly. Pay attention to edges and corners, as these areas are often overlooked. For paste waxes, apply the wax sparingly to prevent build-up. For liquid and spray waxes, hold the applicator a few inches away from the surface and apply in a light, even coat.
- Use a Clean Applicator: Prevents scratches and swirl marks.
- Work in Small Sections: Ensures even coverage.
- Don’t Over-Apply: Makes removal easier.
Applying car wax may seem straightforward, but attention to detail is key. By following these techniques and tips, you can ensure even coverage, maximum shine, and long-lasting protection for your car’s finish. Remember, patience and consistency are your best allies in achieving a truly flawless result.
Removing Car Wax: Achieving a Streak-Free Shine
Removing car wax is just as important as applying it. Improper removal can leave behind streaks, haze, and uneven patches, negating all the hard work you put into prepping and waxing your car. The key to a streak-free shine is using the right tools and techniques to gently buff away the excess wax without scratching or damaging the paint.
Microfiber Towels: Your Best Friend
Use clean, soft microfiber towels to remove the wax. Fold the towel into quarters to create multiple clean surfaces. Gently buff the wax away, using a circular or back-and-forth motion. As the towel becomes saturated with wax, switch to a clean section to avoid smearing.
Techniques for Easy Removal
If the wax is difficult to remove, try using a quick detailer spray. This will help to loosen the wax and make it easier to buff away. Another tip is to remove the wax in a shaded area, as direct sunlight can cause the wax to harden and become more difficult to remove.
- Use Clean Microfiber Towels: Prevents scratches and swirl marks.
- Fold Towels into Quarters: Provides multiple clean surfaces.
- Use a Quick Detailer Spray: Helps loosen stubborn wax.
Removing car wax properly is the final step in achieving a truly stunning shine. By using clean microfiber towels, employing the right techniques, and paying attention to detail, you can ensure a streak-free, flawless finish that will turn heads wherever you go. Remember, patience and a gentle touch are your best friends in this final stage of the waxing process.
Maintaining Your Wax: Extending the Shine and Protection
Once you’ve applied and removed the car wax, the job isn’t quite done. Maintaining your wax is essential for extending its shine and protective properties. Regular washing, quick detailing, and proper storage can significantly prolong the life of your wax and keep your car looking its best for longer. Think of it as regular maintenance that pays off with a consistently stunning appearance.
Regular Washing
Wash your car regularly with a pH-balanced car wash soap to remove dirt, grime, and other contaminants. Avoid using harsh detergents or dish soap, as these can strip away the wax and damage your car’s finish. Use the two-bucket method and a soft microfiber wash mitt to prevent swirl marks.
Quick Detailing
Use a quick detailer spray after washing to enhance the shine and remove any water spots or streaks. Quick detailers also provide a light layer of protection that can help to prolong the life of your wax.
- pH-Balanced Car Wash Soap: Protects the wax layer.
- Two-Bucket Method: Prevents swirl marks during washing.
- Quick Detailer Spray: Enhances shine and provides light protection.
Maintaining your car wax is a simple yet effective way to keep your car looking its best. By following these tips and incorporating them into your regular car care routine, you can extend the life of your wax, protect your car’s finish, and enjoy a consistently stunning shine that will make your car the envy of the neighborhood.
| Key Point | Brief Description |
|---|---|
| 🧼 Washing First | Clean the car thoroughly before waxing. |
| 🛡️ Wax Type | Choose between natural, synthetic, or hybrid waxes. |
| 🔄 Even Application | Apply the wax in small sections using circular motions. |
| ✨ Removal Technique | Use clean microfiber towels for streak-free removal. |
FAQ Section
▼
Waxing your car every three to four months is generally recommended. However, it depends on your climate, driving habits, and the type of wax used. Checking if water beads up on the surface is a good indicator.
▼
It’s best to avoid waxing your car in direct sunlight as it can cause the wax to harden too quickly, making it difficult to remove and potentially leading to streaks or uneven coverage.
▼
Car polish is used to correct paint imperfections like swirl marks and scratches, while car wax provides a protective layer and enhances shine. Polish is abrasive, while wax is not.
▼
No, it’s crucial to use clean, soft microfiber towels to remove car wax. Other types of cloth may scratch or damage the paint surface, leaving swirl marks and reducing the shine.
▼
Yes, using a clay bar before waxing is highly recommended. It removes embedded contaminants that washing alone can’t eliminate, ensuring a smooth surface for the wax to bond properly and provide maximum protection.
Conclusion
Mastering the art of applying and removing car wax is an investment in your vehicle’s appearance and longevity. By understanding the purpose of waxing, choosing the right wax for your needs, and following the proper application and removal techniques, you can achieve a showroom-worthy shine and protect your car’s finish from the elements, maintaining its value and turning heads wherever you go.


