Wheel Cleaning Secrets: DIY Guide to Remove Brake Dust & Grime
Wheel cleaning secrets involve safely removing stubborn brake dust and grime buildup from your car’s wheels, detailing products that are safe and effective for all wheel types.
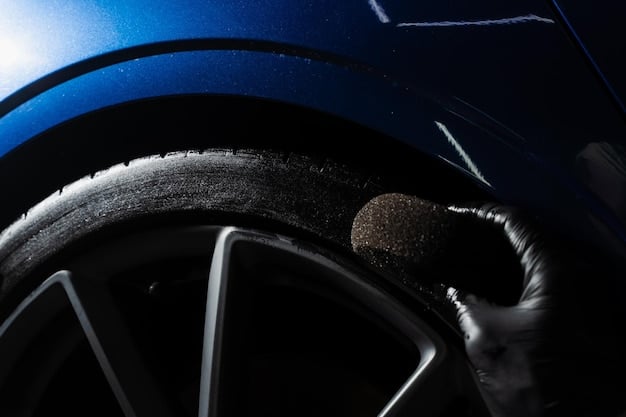
Keeping your car wheels clean can be a challenge, especially with the persistent buildup of brake dust and road grime. Discover effective wheel cleaning secrets to remove brake dust and grime like a pro, all with DIY methods and safe product use.
Why Wheel Cleaning Matters
Wheel cleaning is often overlooked, but it plays a crucial role in maintaining your vehicle’s appearance and value. Dirty, grimy wheels detract from your car’s overall look and can even lead to long-term damage. Plus, regular cleaning can help prevent brake dust and grime from causing corrosion or other issues.
But why exactly does it matter so much?
Appearance
Clean wheels significantly enhance the aesthetic appeal of your vehicle. A fresh set of wheels can make even an older car look sharp and well-maintained.
Preservation
Brake dust is corrosive and can damage your wheels over time. Regular cleaning prevents this buildup, preserving the finish and integrity of your wheels.
Here are some extra benefits:
- Enhanced Vehicle Value: Consistent cleaning shows care, increasing resale value.
- Improved Safety: Clean wheels allow better visibility of tire condition.
- Preventative Maintenance: Early grime removal prevents major cleaning tasks.
Effective wheel cleaning involves more than just a quick spray-and-wipe. It’s about using the right products and techniques to ensure your wheels look their best without causing damage. This guide will provide all the wheel cleaning secrets you need.
Essential Tools and Products for Wheel Cleaning
Before diving into the cleaning process, it’s essential to gather the right tools and products. The correct equipment will help you clean your wheels efficiently and safely, preventing damage and saving time. Using the right materials can make all the difference in achieving professional-quality results at home.
So, what do you need?
Wheel Cleaning Products
Choosing the right cleaning solution is crucial. Look for wheel cleaners specifically designed to remove brake dust and grime without damaging the wheel finish. Always read the label and test the product on a small, inconspicuous area first.
Brushes and Applicators
A variety of brushes will help you reach every nook and cranny. A wheel brush with a long handle is great for the wheel face, while smaller detail brushes are perfect for lug nuts and tight spaces. Also, microfiber cloths are essential for wiping and drying.
Here’s a complete list:
- Wheel Cleaner: Opt for non-acidic, pH-balanced formulas for safety.
- Detail Brushes: Use these for intricate areas like lug nuts and rims.
- Microfiber Cloths: Soft cloths prevent scratches during wiping.
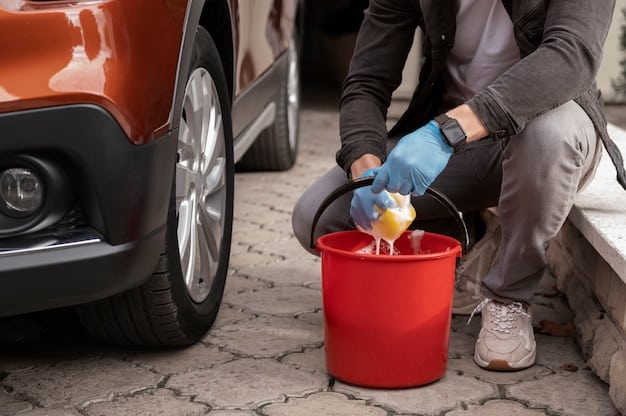
- Buckets: Two buckets—one for washing and one for rinsing—prevent redepositing dirt.
Having these tools and products on hand will set you up for a successful wheel cleaning session. Remember to always prioritize safety and use products according to their instructions. Choosing the right wheel cleaning secrets can protect your wheels and keep them looking their best.
Step-by-Step Guide: Cleaning Your Wheels Like a Pro
Now that you have the right tools and products, it’s time to get your hands dirty. Follow these step-by-step instructions to clean your wheels like a professional detailer. Each step is crucial for ensuring a thorough and safe clean.
Let’s get started!
Preparation
Park your car in a shaded area to prevent the cleaning products from drying too quickly. Gather all your tools and products, and fill two buckets with water – one for washing and one for rinsing. Rinse each wheel thoroughly with water, removing loose dirt and debris.
Application of Cleaner
Spray the wheel cleaner evenly onto the wheel surface, following the product’s instructions. Allow the cleaner to dwell for a few minutes to loosen the brake dust and grime. Do not let the cleaner dry on the wheel.
Here is how to clean thoroughly:
- Use Gloves: Protect your hands from harsh chemicals.
- Apply Evenly: Ensure full coverage of the wheel surface.
- Check Product Compatibility: Ensure cleaner is safe for your wheel type.
By following these steps carefully, you’ll ensure that your wheels are not only clean but also protected from damage. Effective wheel cleaning secrets are all about the details and careful implementation.
Dealing with Stubborn Brake Dust and Grime
Sometimes, regular cleaning isn’t enough to remove stubborn brake dust and grime. When you encounter this problem, you’ll need to adjust your technique and potentially use stronger cleaning agents. However, it’s important to do so safely to avoid damaging your wheels.
So what extra steps can one take?
Using a Clay Bar
A clay bar can effectively remove bonded contaminants that regular cleaners can’t touch. Simply knead the clay until it’s soft and pliable, then spray the wheel with lubricant and gently rub the clay bar over the surface. You’ll be amazed at what it picks up.
Heavy-Duty Cleaners
For extreme cases, consider using a heavy-duty wheel cleaner designed for tougher jobs. These cleaners often contain stronger chemicals, so always use them with caution. Follow the product instructions carefully and test on a small area first.
Below are some tips to help:
- Apply More Pressure: Extra scrubbing may be required for stubborn spots.
- Repeat Cleaning Process: Sometimes a second application of cleaner is needed.
- Protect Surrounding Areas: Shield brake components and paint from harsh cleaners.
Dealing with stubborn grime and dust requires persistence and the right techniques. Using these wheel cleaning secrets will help you restore your wheels to their original shine, even in the toughest situations.
Protecting Your Wheels After Cleaning
Once your wheels are sparkling clean, it’s time to protect them from future buildup. Applying a wheel sealant or wax can create a barrier that repels brake dust and grime, making future cleaning easier. This extra step is a great way to keep your wheels looking their best for longer.
Here’s what you need to know.
Applying Wheel Sealant
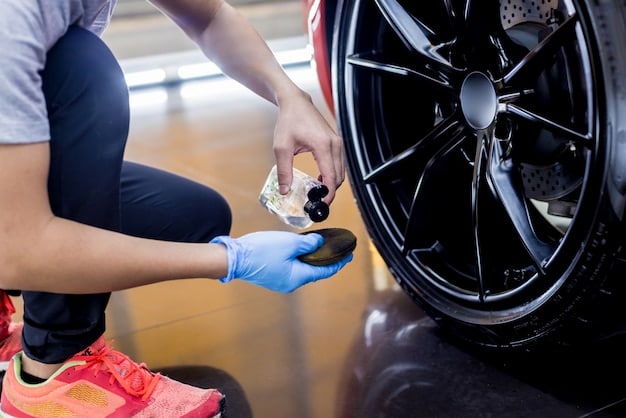
Wheel sealants create a protective layer that prevents brake dust from sticking to the wheel surface. Apply the sealant according to the product instructions, ensuring even coverage. This can significantly reduce brake dust buildup.
Wheel Wax
Wheel wax is another great option for protection. It provides a similar barrier to sealant but often offers enhanced shine. Apply the wax using a microfiber applicator pad, then buff it off with a clean microfiber cloth.
Here are reasons to protect your wheels:
- Reduces Cleaning Frequency: Protected wheels require less frequent, intense cleaning.
- Maintains Appearance: Protective coatings keep wheels looking new longer.
- Prevents Damage: Sealants guard against corrosion and brake dust damage.
Protecting your wheels after cleaning is a proactive step that saves time and effort in the long run. These wheel cleaning secrets ensure that your hard work pays off by keeping your wheels looking great between cleanings.
DIY vs. Professional Wheel Cleaning
Deciding whether to clean your wheels yourself or hire a professional depends on your budget, time, and skill level. Both options have their advantages and disadvantages, so it’s essential to weigh the pros and cons before making a decision. If you have time, DIY approach is often the best option.
Let’s examine the options more clearly.
DIY Wheel Cleaning
Cleaning your wheels yourself can be cost-effective and satisfying. You have full control over the products and techniques used, and you can work at your own pace. However, it can also be time-consuming and require some initial investment in tools and products.
Professional Wheel Cleaning
Hiring a professional detailer ensures a thorough clean using high-quality products and equipment. Professionals have the experience and expertise to handle even the toughest cases of brake dust and grime. However, this option is more expensive and requires scheduling an appointment.
Consider these points below:
- Cost: DIY is cheaper; professional services are pricier.
- Time: DIY takes longer; professionals offer convenience.
- Skill Level: DIY requires practice; professionals provide expertise.
Whether you choose DIY or professional wheel cleaning, the key is to prioritize regular maintenance and use effective techniques. Armed with these wheel cleaning secrets, you can ensure your wheels always look their best, no matter which option you choose.
| Key Aspect 🔑 | Brief Description 📝 |
|---|---|
| Essential Tools 🧰 | Wheel cleaner, brushes, microfiber cloths, and two buckets. |
| Cleaning Steps 🧼 | Rinse, apply cleaner, scrub, rinse, dry, and protect. |
| Stubborn Dust 🚧 | Use clay bar or heavy-duty cleaner; repeat cleaning if needed. |
| Protection 🛡️ | Apply sealant or wax to repel dust and maintain shine. |
▼
The best way is to use a wheel cleaner specifically designed for brake dust, along with a variety of brushes to reach all areas and proper rinsing.
▼
It’s not recommended. Household cleaners can be too harsh and may damage your wheel’s finish. Always use products designed for car wheels.
▼
Ideally, clean your wheels every two weeks. This prevents heavy buildup and keeps them looking good. For daily drivers, more frequent cleaning may be needed.
▼
You’ll need a wheel cleaner, two buckets, a wheel brush, detail brushes, microfiber cloths, and a hose for rinsing. Gloves are also recommended.
▼
Apply a wheel sealant or wax after cleaning. This creates a protective barrier that repels brake dust and grime, making future cleaning easier.
Conclusion
Mastering the art of wheel cleaning doesn’t have to be daunting. By following these wheel cleaning secrets and investing a bit of time and effort, you can maintain sparkling clean wheels that enhance your car’s overall appearance. Whether you choose the DIY route or opt for professional services, the key is consistency and using the right techniques and products.


