DIY Car PPF Install: Save $1000+ on Professional Costs
DIY car paint protection film (PPF) installation offers a cost-effective alternative to professional services, allowing car owners to safeguard their vehicle’s paint from scratches, chips, and environmental damage while potentially saving over $1000.
Want to protect your car’s paint without breaking the bank? A DIY car paint protection film (PPF) installation might be the answer. Learn how to save big by doing it yourself!
What is Paint Protection Film (PPF) and Why DIY?
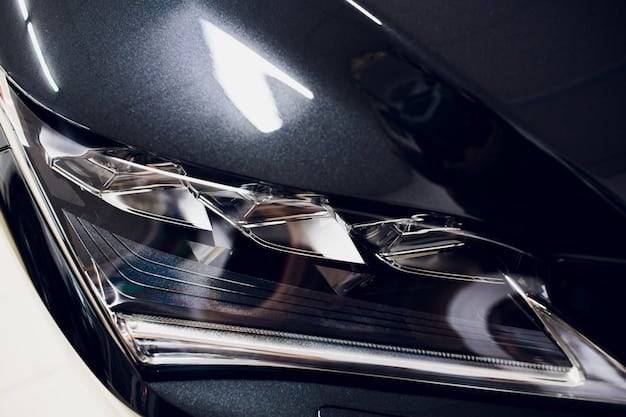
Paint Protection Film, or PPF, is a thermoplastic urethane film applied to the painted surfaces of a new or used car in order to protect the paint from stone chips, scratches, bug splatters, and more. While professional installation guarantees precision, the high cost often deters car owners. Doing it yourself can save you significant money, sometimes over $1000, but requires patience and careful attention to detail.
Benefits of PPF
PPF offers several advantages beyond just cost savings:
- Scratch Resistance: Shields your car from minor scratches and swirl marks.
- UV Protection: Prevents paint fading and oxidation.
- Preserves Resale Value: Keeps your car looking newer for longer.
Challenges of DIY PPF Installation
While the potential savings are attractive, DIY PPF installation presents some challenges:
- Requires Precision: Achieving a seamless finish requires careful application and attention to detail.
- Time-Consuming: The process can take several hours, depending on the size and complexity of the area being covered.
- Risk of Imperfections: Bubbles, wrinkles, and creases can occur if not applied correctly.
Successfully installing PPF yourself hinges on proper preparation, the right tools, and a meticulous approach. Next, we’ll delve into the specific tools you’ll need to get started.
Essential Tools and Materials for DIY PPF Installation
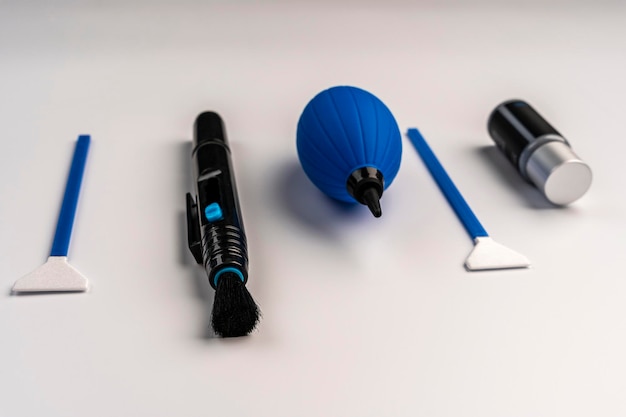
Having the right tools and materials is crucial for a successful DIY car paint protection film (PPF) installation. Using the wrong equipment can lead to imperfections and a less-than-desirable outcome. Here’s a comprehensive list of what you will need:
- PPF Kit: Purchase a high-quality PPF kit specifically designed for your car model or universal sheets that you can cut to size. Consider pre-cut kits for beginners.
- Spray Bottle: For applying soapy water to both the car’s surface and the adhesive side of the PPF, allowing for repositioning during installation.
- Slip Solution: Use a pre-made slip solution or create your own by mixing a few drops of baby shampoo with water.
- Tack Solution: A tack solution to help the edges and curves of the PPF adhere properly.
- Squeegee: A soft, flexible squeegee to smooth out the PPF and remove air bubbles. Opt for one with rounded edges to prevent scratching.
- Microfiber Cloths: Several lint-free microfiber cloths for cleaning the surface and wiping away excess solution.
- Heat Gun or Hair Dryer: To help the PPF conform to curves and edges, and to activate the adhesive for a stronger bond.
- Trimming Knife or Razor Blade: A sharp trimming knife or razor blade for trimming excess PPF around edges and curves.
- Detailing Clay and Lubricant: To remove any contaminants from the paint surface before installation.
- Isopropyl Alcohol: To clean the surface immediately before applying the PPF.
Investing in quality tools will make the installation process smoother and ultimately lead to a better result. With the right tools on hand, let’s look at how to prepare your vehicle for the PPF application.
Preparing Your Car for PPF Application
Proper preparation is the cornerstone of a flawless DIY car paint protection film (PPF) installation. A clean and smooth surface is essential for optimal adhesion and a bubble-free finish. Neglecting this step can result in imperfections and a compromised appearance.
Wash and Decontaminate
Begin by thoroughly washing your car with a pH-neutral car soap to remove dirt, grime, and any loose contaminants. After washing, use a detailing clay bar with a lubricant to remove embedded contaminants like tree sap, bug residue, and industrial fallout. This step is crucial for creating a perfectly smooth surface.
Polish (If Necessary)
If your car’s paint has swirl marks or minor imperfections, consider polishing it before applying the PPF. Polishing will enhance the paint’s clarity and gloss, making the PPF virtually invisible. Use a dual-action polisher with a fine polishing compound for best results.
Clean with Isopropyl Alcohol
Before applying the PPF, wipe down the surfaces with isopropyl alcohol (IPA) to remove any remaining residues, waxes, or oils. This ensures a clean surface for the PPF to adhere to properly. Use a lint-free microfiber cloth and avoid touching the cleaned surface with your bare hands.
Dry Thoroughly
Ensure that the car’s surface is completely dry before proceeding with the PPF installation. Use a clean microfiber cloth to dry the surface, paying particular attention to edges and crevices. Any moisture trapped under the PPF can lead to bubbling and adhesion issues.
Taking the time to meticulously prepare your car’s surface will significantly improve the outcome of your DIY PPF installation. Now that your car is prepped, let’s move on to the step-by-step installation process.
Step-by-Step Guide to DIY PPF Installation
Now that you’ve gathered your tools and prepped your car, it’s time to begin the DIY car paint protection film (PPF) installation. This process requires patience, precision, and a methodical approach. Follow these steps carefully for the best results:
1. Prepare the PPF
Lay the PPF sheet on a clean, flat surface and identify the area you will be applying it to. If using a universal sheet, carefully cut the PPF to the desired size and shape, leaving a little extra around the edges for trimming. Peel back a corner of the PPF to expose the adhesive side.
2. Apply Slip Solution
Generously spray the prepared surface of your car with slip solution. Also, spray the adhesive side of the PPF with slip solution. This will allow you to reposition the PPF during installation.
3. Position the PPF
Carefully align the PPF with the desired area on your car. Use the slip solution to slide the PPF into the correct position. Take your time and ensure that the edges are aligned properly.
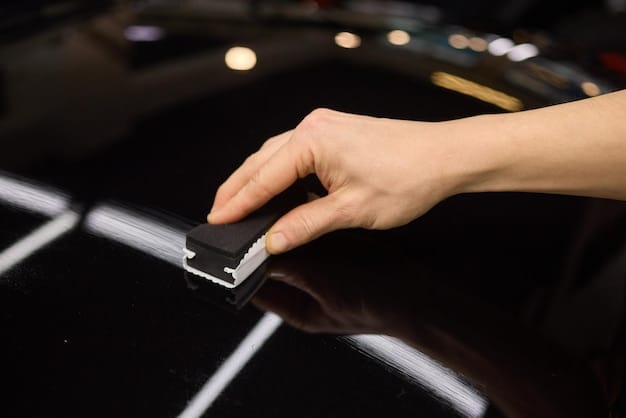
4. Squeegee the PPF
Starting from the center, use the squeegee to gently smooth out the PPF. Work your way outwards, removing air bubbles and excess solution. Use overlapping strokes and apply even pressure. For curved surfaces, use a heat gun or hair dryer to make the PPF more pliable.
5. Trim Excess PPF
Once the PPF is smoothly applied, use a sharp trimming knife or razor blade to trim away any excess material around the edges and curves. Be careful not to cut into the car’s paint. Use a heat gun to seal the edges for a seamless finish.
6. Final Inspection
Inspect the installed PPF for any remaining air bubbles or imperfections. Use the squeegee to smooth out any problem areas. If necessary, use a heat gun to help the PPF conform to the surface.
Following these steps diligently will help you achieve a professional-looking PPF installation. Be prepared to take your time and pay attention to detail. Next, we’ll cover how to handle common challenges and troubleshoot issues.
Troubleshooting Common PPF Installation Problems
Even with careful preparation and meticulous application, you may encounter some common problems during your DIY car paint protection film (PPF) installation. Knowing how to troubleshoot these issues will help you achieve a flawless finish.
Air Bubbles
Air bubbles are a common issue during PPF installation. They can occur due to improper surface preparation, insufficient slip solution, or incorrect squeegeeing technique. To remove air bubbles:
- Use a squeegee to gently push the bubble towards the edge of the PPF.
- If the bubble is stubborn, use a pin to create a tiny hole and then squeegee out the air.
- Apply heat with a heat gun to soften the PPF and help it conform to the surface.
Wrinkles and Creases
Wrinkles and creases can occur when applying PPF to curved surfaces. To prevent these issues:
- Use a heat gun to make the PPF more pliable.
- Stretch the PPF gently as you apply it, avoiding excessive tension.
- Work in small sections, smoothing out the PPF as you go.
Adhesion Issues
Poor adhesion can occur if the surface is not properly cleaned or if the PPF is not properly applied. To address adhesion issues:
- Ensure that the surface is thoroughly cleaned with isopropyl alcohol before applying the PPF.
- Use a tack solution to help the edges and curves of the PPF adhere properly.
- Apply heat with a heat gun to activate the adhesive and create a stronger bond.
By understanding these common problems and knowing how to address them, you can overcome challenges and achieve a professional-looking DIY PPF installation. Next, we’ll discuss tips for maintaining your PPF to prolong its lifespan and keep it looking its best.
Maintaining Your Paint Protection Film
Once you’ve successfully completed your DIY car paint protection film (PPF) installation, proper maintenance is key to prolonging its lifespan and keeping your car looking its best. Here are some tips for maintaining your PPF:
Wash Regularly
Wash your car regularly with a pH-neutral soap to remove dirt, grime, and contaminants. Avoid using harsh chemicals or abrasive cleaners, as they can damage the PPF.
Avoid Pressure Washing
While pressure washing can be effective for cleaning your car, it can also damage the PPF if used improperly. Avoid spraying the PPF directly with high-pressure water, especially at the edges.
Remove Contaminants Promptly
Remove any contaminants like bird droppings, bug splatters, and tree sap as soon as possible. These contaminants can stain or damage the PPF if left on for extended periods.
Use PPF-Specific Products
Consider using PPF-specific cleaning and protection products. These products are designed to enhance the appearance and longevity of your PPF.
Inspect Regularly
Inspect your PPF regularly for any signs of damage, such as tears or peeling. Address any issues promptly to prevent further damage.
By following these maintenance tips, you can keep your paint protection film looking its best and provide long-lasting protection for your car’s paint. Regular care ensures that your investment continues to pay off.
| Key Point | Brief Description |
|---|---|
| 💰 Cost Savings | DIY PPF installation can save you over $1000 compared to professional services. |
| 🛡️ Protection | PPF protects your car’s paint from scratches, chips, and UV damage. |
| 🛠️ Essential Tools | Key tools include a PPF kit, spray bottle, squeegee, and microfiber cloths. |
| 💧 Maintenance | Regular washing and PPF-specific products keep your film looking its best. |
Frequently Asked Questions
▼
DIY PPF installation can save you upwards of $1000 compared to professional installation costs, depending on the car and area covered.
▼
Common mistakes include improper surface preparation, trapping air bubbles, and cutting the film incorrectly, leading to a poor finish.
▼
It’s recommended to polish the car if there are swirl marks or imperfections to ensure the PPF appears seamless and enhances the paint’s clarity.
▼
PPF can last 5-10 years with proper care, including regular washing, avoiding pressure washing, and promptly removing contaminants like bird droppings.
▼
Yes, PPF can be removed without damaging the paint if done carefully, ideally with a heat gun to soften the adhesive, and peeling it off slowly.
Conclusion
Embarking on a DIY car paint protection film (PPF) installation can be a rewarding endeavor, offering significant cost savings and a sense of accomplishment. By following these steps, addressing common challenges, and committing to regular maintenance, you can effectively protect your car’s paint and maintain its pristine appearance for years to come. With patience and attention to detail, a professional-looking finish is within your reach.


