Step-by-Step Guide: Level 2 EV Charger Home Install 2025
Installing a Level 2 EV charger at home in 2025 has become a streamlined process, offering significant charging speed improvements and convenience for electric vehicle owners, with DIY options averaging around four hours for skilled individuals.
The increasing adoption of electric vehicles (EVs) has made home charging solutions a top priority for many owners. A Step-by-Step Guide to Installing a Level 2 EV Charger at Home in 2025: Averages 4 Hours for DIY (PRACTICAL SOLUTIONS) is now more relevant than ever, promising faster charging times and enhanced convenience. This guide delves into the essential steps, tools, and considerations for a successful installation, whether you’re a seasoned DIYer or considering professional help.
Understanding Level 2 EV Charging Essentials in 2025
As of early 2025, Level 2 EV charging stands as the most popular and practical home charging solution for electric vehicle owners. It offers a significant upgrade from standard Level 1 charging, drastically reducing the time it takes to fully charge an EV battery. This enhanced speed is crucial for daily commuters and those with higher mileage needs.
A Level 2 charger typically operates on a 240-volt circuit, similar to what powers large appliances like electric dryers or ovens. This higher voltage allows for a much faster power delivery, translating into more miles of range per hour of charging. Understanding these fundamental aspects is the first step in planning your home installation.
Key Differences: Level 1 vs. Level 2
- Level 1 Charging: Uses a standard 120V outlet, providing about 2-5 miles of range per hour. It’s slow but requires no special installation.
- Level 2 Charging: Utilizes a 240V outlet, delivering 12-80 miles of range per hour, depending on the charger and vehicle. This is the sweet spot for home charging.
Benefits of Home Level 2 Charging
The convenience of waking up to a fully charged vehicle cannot be overstated. Home Level 2 charging eliminates range anxiety for most daily driving needs and allows owners to take advantage of off-peak electricity rates, potentially saving money. It’s a foundational component of modern EV ownership, providing independence from public charging infrastructure for routine use.
Pre-Installation Assessment: Electrical Panel and Location
Before any tools are picked up, a thorough pre-installation assessment is paramount. This critical step involves evaluating your home’s electrical system and determining the optimal location for your Level 2 EV charger. Neglecting this phase can lead to costly mistakes or, worse, safety hazards.
The core of this assessment revolves around your main electrical panel. You need to ascertain if it has sufficient capacity and available space for a new 240-volt circuit breaker. Most homes built within the last few decades will have adequate capacity, but older homes might require an upgrade.
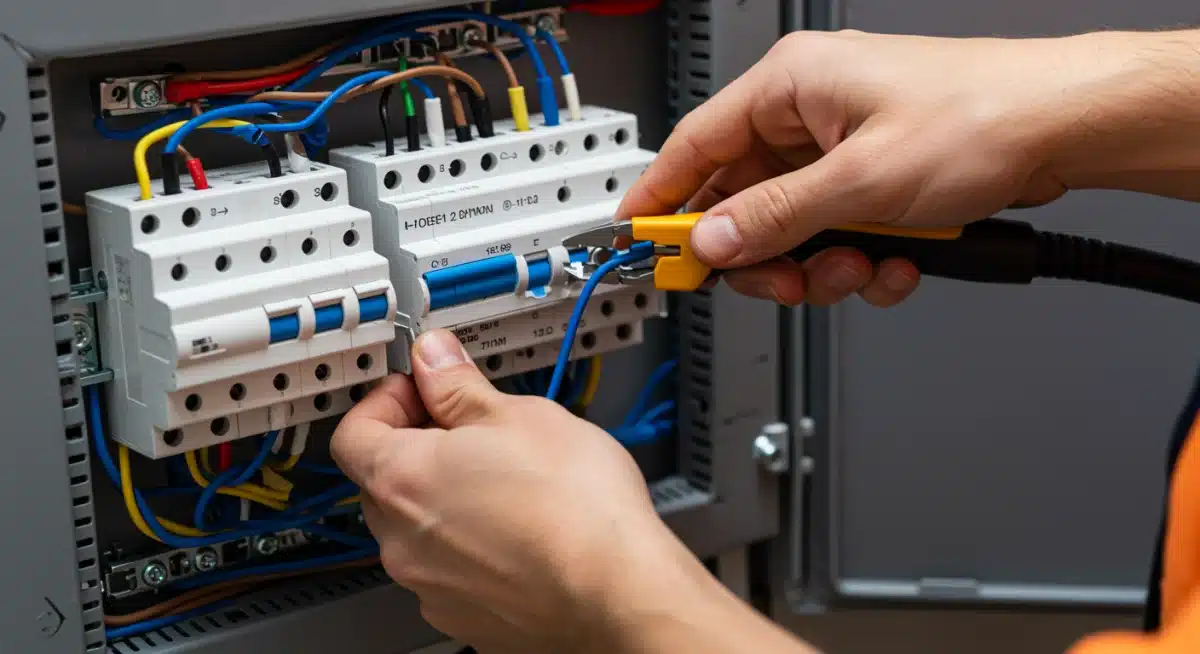
Checking Your Electrical Panel
- Available Breaker Space: A Level 2 charger typically requires a double-pole circuit breaker, occupying two slots in your panel.
- Amperage Capacity: Common Level 2 chargers run on 30-amp to 60-amp circuits. Ensure your panel’s main breaker rating (e.g., 100A, 200A) can support this additional load without overloading.
- Panel Age and Condition: An older panel might not meet current electrical codes or might be nearing its end-of-life, necessitating an upgrade before installation.
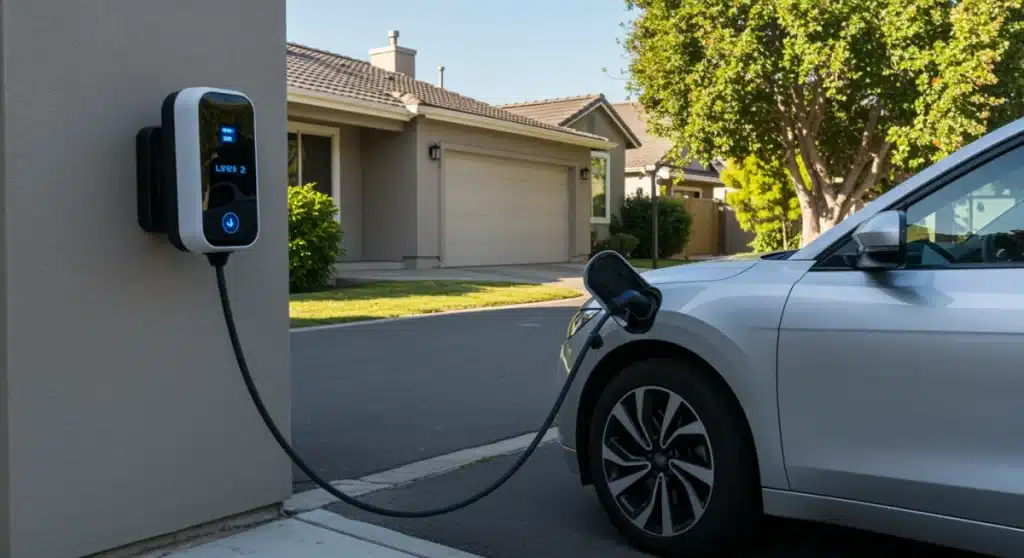
Optimal Charger Placement
The ideal location for your charger is typically near where you park your EV, often in a garage or on an exterior wall adjacent to the driveway. Consider the length of the charging cable and accessibility. The proximity to your electrical panel is also a factor, as longer wire runs can increase material and labor costs.
It’s also vital to consider environmental factors for outdoor installations, such as protection from direct sunlight and rain, and ensuring the charger is mounted at a convenient height for daily use. Accessibility for potential future EV models or different users should also be part of this planning.
Choosing the Right Level 2 EV Charger for Your Needs
With a clear understanding of your home’s electrical capabilities and a chosen location, the next step is selecting the appropriate Level 2 EV charger. The market in 2025 offers a wide array of options, each with varying features, power outputs, and smart capabilities. Making the right choice ensures compatibility with your vehicle and maximizes charging efficiency.
Chargers vary significantly in their maximum amperage output, which directly correlates to charging speed. While a 32-amp charger is common and sufficient for most EVs, some newer models or those with larger battery packs might benefit from a 48-amp or even 60-amp unit, provided your home’s electrical system can support it.
Connector Types and Smart Features
- J1772 Connector: This is the universal standard for North American EVs, ensuring compatibility with virtually all electric vehicles except Tesla.
- Tesla Connector: Tesla vehicles use a proprietary connector but can charge on J1772 chargers using an adapter, which typically comes with the vehicle.
- Smart Charging Features: Many modern chargers offer Wi-Fi connectivity, allowing for scheduled charging, energy usage tracking, and integration with smart home systems, optimizing charging costs and convenience.
Evaluating Charger Safety and Certifications
Safety should never be compromised. Ensure any charger you consider is UL-listed or certified by another recognized testing laboratory. This certification confirms the device meets national safety standards. Additionally, check for features like ground fault protection and robust weatherproofing if the unit will be installed outdoors.
Reading reviews and comparing warranties from reputable manufacturers is also a recommended practice. The longevity and reliability of your charger are just as important as its initial performance, especially given the continuous use it will undergo over years of EV ownership.
The DIY Installation Process: Tools and Steps (Average 4 Hours)
For those with a solid understanding of electrical work, a DIY installation of a Level 2 EV charger can be completed in approximately four hours, offering significant cost savings. However, this is not a task for the inexperienced, as it involves working with high voltage and requires strict adherence to safety protocols and local electrical codes.
The process primarily involves running new wiring from your electrical panel to the chosen charger location, installing a dedicated circuit breaker, and securely mounting the charging unit. Each step demands precision and careful execution to ensure a safe and functional setup.
Essential Tools for DIY Installation
- Voltage Tester: Crucial for ensuring circuits are de-energized before working.
- Wire Strippers and Cutters: For preparing electrical wires.
- Screwdrivers and Pliers: For mounting the charger and securing connections.
- Conduit and Fittings: If running wires through exposed areas or outdoors.
- Drill: For mounting the charger and routing cables.
Step-by-Step DIY Guide
First, turn off the main power to your home at the service panel. This is non-negotiable for safety. Next, install the double-pole circuit breaker in an available slot in your electrical panel. Run the appropriate gauge wire (e.g., 6-gauge for a 50-amp circuit) from the new breaker to the charger’s intended location. This might involve drilling through walls or running conduit.
Mount the Level 2 EV charger securely to the wall, ensuring it’s level and at a convenient height. Connect the wires to the charger terminals according to the manufacturer’s instructions, paying close attention to ground, neutral, and hot connections. Once all connections are made and inspected, restore power and test the unit with your EV. Always consult your local electrical codes and pull any necessary permits before starting work.
When to Call a Professional Electrician for Installation
While a DIY installation is feasible for some, knowing when to call a professional electrician is crucial for safety and compliance. Any uncertainty regarding electrical work, or if your home’s electrical system presents complexities, warrants professional intervention. Attempting advanced electrical tasks without proper training can lead to severe hazards, including electrical fires or electrocution.
Professional electricians possess the expertise to assess your home’s specific electrical needs, ensure compliance with all local codes, and handle any necessary upgrades to your electrical panel. Their experience guarantees a safe, efficient, and compliant installation, providing peace of mind.
Signs You Need Professional Help
- No Available Breaker Space: If your electrical panel is full, a professional can install a sub-panel or upgrade your main panel.
- Outdated Electrical Panel: Older panels may not safely support the additional load of a Level 2 charger.
- Complex Wiring Routes: If the charger location is far from the panel or requires extensive conduit work through finished walls.
- Unfamiliarity with Electrical Codes: Electricians are up-to-date on all local and national electrical codes, ensuring your installation passes inspection.
The Value of Professional Installation
A licensed electrician will not only install the charger but also ensure the entire setup meets safety standards and is properly grounded. They can also provide advice on optimizing your charging setup and assist with obtaining any required permits. While there’s an upfront cost, the long-term safety and reliability benefits far outweigh the expense, especially considering the average 4-hour DIY estimate only applies to straightforward installations.
Post-Installation: Testing, Maintenance, and Maximizing Efficiency
Once your Level 2 EV charger is installed, the process isn’t quite over. Post-installation testing, understanding basic maintenance, and learning how to maximize charging efficiency are vital steps to ensure long-term satisfaction and optimal performance. These practices contribute to the longevity of your charger and the health of your EV’s battery.
The initial test should involve plugging in your EV and confirming that charging initiates successfully and at the expected rate. Modern chargers often have indicator lights or digital displays to confirm operational status. Monitoring your first few charging sessions can help identify any unexpected issues early on.
Regular Maintenance Checks
- Inspect Cables and Connectors: Routinely check for any fraying, cracks, or damage to the charging cable and connector.
- Clean the Unit: Keep the charger housing clean and free of dust or debris, especially for outdoor units.
- Software Updates: For smart chargers, ensure firmware is updated to the latest version to benefit from bug fixes and new features.
Optimizing Charging Efficiency
Utilize your charger’s smart features, if available, to schedule charging during off-peak hours when electricity rates are lower. This not only saves money but also reduces strain on the electrical grid. Many EVs also allow you to set charging limits, which can help prolong battery life by avoiding constant charging to 100% unless necessary for long trips.
Understanding your EV’s charging curve is also beneficial. Batteries charge fastest up to about 80%, with the rate slowing down significantly afterward. For daily use, charging to 80-90% is often sufficient and more efficient than always aiming for a full charge, aligning with best practices for battery health.
| Key Point | Brief Description |
|---|---|
| Level 2 Advantage | Provides 240V charging, significantly faster than Level 1, delivering 12-80 miles of range per hour. |
| Pre-Installation Check | Assess electrical panel capacity and available space for a new 240V circuit before starting. |
| DIY vs. Pro Install | DIY is possible for experienced individuals (avg. 4 hours), but professionals ensure safety and code compliance for complex setups. |
| Safety & Efficiency | Prioritize UL-listed chargers, perform regular maintenance, and utilize smart features for optimal charging. |
Frequently Asked Questions About Level 2 EV Charger Installation
The cost varies significantly. DIY installation can range from $300-$700 for materials, while professional installation typically falls between $800-$2,000, depending on electrical panel upgrades and wiring complexity. Some government incentives or rebates may also apply, reducing the overall expense for homeowners.
Yes, in most jurisdictions, a permit is required for electrical work involving a new 240-volt circuit. This ensures the installation complies with local building and electrical codes, guaranteeing safety. Always check with your local municipality or a licensed electrician before beginning any work.
Charging time depends on the EV’s battery size and the charger’s output. Typically, a Level 2 charger can fully charge an EV overnight, usually within 4 to 10 hours. It provides a significant range increase, often 25-30 miles per hour of charging, making it ideal for daily use.
Yes, many Level 2 EV chargers are designed for outdoor installation. They must be NEMA-rated for outdoor use, indicating resistance to weather elements like rain, snow, and extreme temperatures. Ensure the chosen model explicitly states its suitability for outdoor placement to prevent damage and ensure safety.
For most residential applications, a 32-amp or 40-amp Level 2 charger is recommended. This provides ample charging speed for daily needs and is compatible with most home electrical systems. Higher amperage chargers (e.g., 48-60 amp) are available but require more robust home electrical infrastructure.
Looking Ahead: The Evolving Landscape of Home EV Charging
The rapid evolution of electric vehicle technology continues to reshape the landscape of home charging solutions. As of early 2025, the focus remains on efficiency, integration, and accessibility. Future developments are expected to further streamline installation processes and enhance smart charging capabilities, potentially incorporating more advanced vehicle-to-grid (V2G) functionalities and robust energy management systems. Homeowners should anticipate continued innovation, making EV charging even more seamless and cost-effective. Keeping an eye on emerging technologies and potential government incentives will be key for optimizing future home charging setups.


